


Vacuum Casting Manufacturer: How the Process Works Step by Step
A capable Vacuum Casting Manufacturer can help product teams obtain plastic parts quickly, accurately, and at lower cost for prototyping, validation, and low-volume manufacturing. At GD Prototyping, we regularly support clients who want production-like prototypes without moving too early into full injection molding investment.
Vacuum casting has become a practical option for design validation, functional testing, market review, and short production runs. The process uses a master model, a silicone mold, and casting resin under vacuum conditions to produce parts with smooth surfaces and stable detail. GD Prototyping applies this method to industries such as consumer electronics, automotive, optics, toys, and industrial design, where both speed and appearance matter.
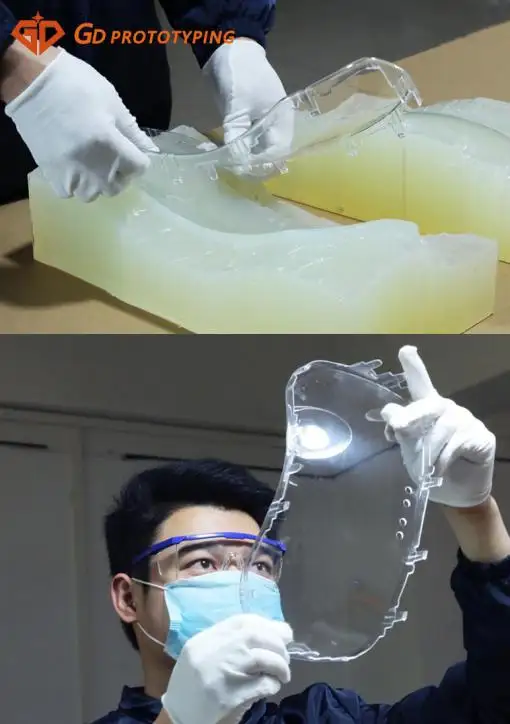
Why a Vacuum Casting Manufacturer Is Important in Early Product Development
Many clients first ask a simple question: why not move directly to injection molding? The answer is practical. In the early stage of development, designs still change. Tooling decisions may still be open. Market demand may not yet be fully verified.
This is where a Vacuum Casting Manufacturer adds value. Rather than committing to costly tooling at an early stage, vacuum casting provides a lower-risk route to physical parts.
At GD Prototyping, this helps clients:
• Check fit and assembly before mass production
• Review surface appearance with production-like quality
• Test several design options in a short time
• Prepare samples for customer review or internal approval
• Bridge the gap between prototype and low-volume launch
Because silicone molds can be produced quickly, vacuum casting is especially useful when development teams need parts within tight schedules. GD Prototyping states that RFQs are answered within 12 hours and typical lead time is around 7–14 days, which is highly practical for teams working against launch deadlines.
Step 1: Create the Master Model
The first step in the workflow is the master model. This is the part that shows you the final shape, size, and surface details of the cast parts.
A Vacuum Casting Manufacturer usually makes the master using CNC machining or 3D printing, depending on the design goal. CNC machining is often the best choice when a project needs better control over its size or a more defined surface. If the shape is hard to make and speed is the most important thing, 3D printing can be a good place to start. Making the master pattern is the first step in GD Prototyping. This pattern is the basis for the whole process. The mold will make an exact copy of the master.
This step is important to the client for one reason: the better the master, the better the final cast part will be. A well-made master means fewer changes need to be made later and makes it easier for the project to move on to testing or presentation.
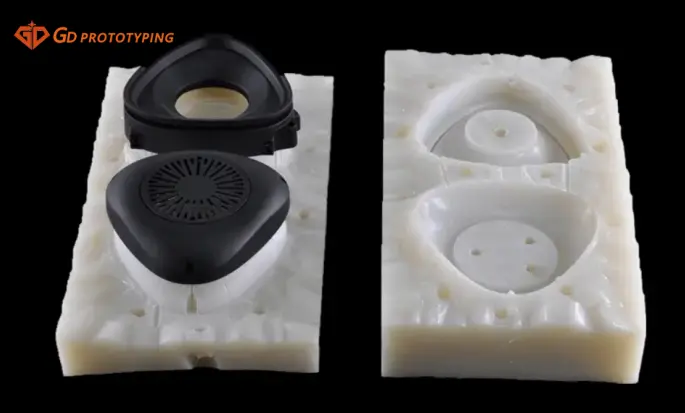
Step 2: Make the mold out of silicone
Once the master has been approved, the next step is to make the silicone mold around it. This mold will be the space where the liquid resin goes.
This stage explains why vacuum casting is known for flexibility. Silicone molds can capture fine texture and detailed geometry very effectively. They are also much faster and more economical to prepare than hardened steel tooling. For low-volume projects, that difference is highly valuable. Formlabs describes vacuum casting as a process that uses silicone mold halves to reproduce parts in a way that is similar in concept to injection molding, but with much lower tooling commitment.
At GD Prototyping, clients benefit from this in practical ways:
• Faster mold preparation for short-run demand
• Easier support for design revisions
• Better suitability for appearance models and test samples
• Efficient production for repeated prototype sets
GD Prototyping also notes that a silicone mold can typically support more than 20 copies, which makes it useful for pilot quantities, engineering reviews, and small market tests.
Step 3: Cast The Resin Under Vacuum
After the mold is ready, the selected resin is mixed and poured into the cavity under vacuum conditions. This is the core of the process.
The vacuum environment helps remove trapped air, which improves consistency and reduces visible defects. This makes a real difference because clients generally want parts that fit properly and also maintain a professional appearance when shown to decision-makers, investors, or end customers. GD Prototyping describes reduced bubbles and fewer visible imperfections as a significant process benefit, and industry references also support the view that vacuum conditions help suppress void formation in cast parts.
The choice of material also has a strong influence on the final result. GD Prototyping offers resin options that simulate common engineering plastics such as ABS, PP, PC, PMMA, POM, PC+ABS, and transparent ABS. For clients, the value lies not only in the number of available materials. It lies in the ability to make the prototype more aligned with the final product in practical use, visual effect, and handling characteristics.
As an example, ABS-like material is commonly selected when the project requires good toughness and impact resistance. ABS at 1.2 g/cm³, as specified by GD Prototyping, offers teams a familiar and useful material reference for producing durable prototype components with practical performance.
Step 4: Cure, Demold, And Finish The Part
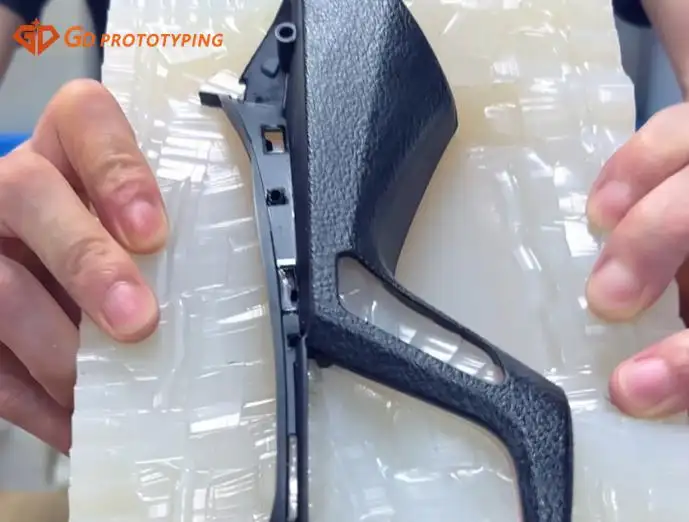
When the casting process is complete, the resin is cured, the part is removed from the silicone mold, and the final finishing work is performed. This stage allows a Vacuum Casting Manufacturer to deliver a more refined part for testing, presentation, or approval.
At GD Prototyping, finishing options include painting, plating, silk screening, and support for two-color and overmolding projects. This gives clients more than a raw sample. It gives them a part that can support visual approval, user testing, or early market display.
This step can be useful in a number of ways:
• Cleaner and more refined surface quality
• A more realistic result for customer presentations
• Better conditions for reviewing color and brand details
• Closer visual alignment with final production goals
This is where vacuum casting really helps a lot of product teams. When a part looks a lot like the final product, feedback is usually more accurate and it's easier to make decisions.
How GD Prototyping Helps Clients Get More Out of Vacuum Casting
A good Vacuum Casting Manufacturer should do more than just make parts. It should help clients make better choices about how to grow. That's how we see things at GD Prototyping.
People who need speed, quality, and flexibility without spending too much can use our vacuum casting service. We help with projects with a small number of parts by checking the engineering, helping you choose the right materials, giving you finishing options, and keeping the process stable. GD Prototyping says it can handle complex needs like overmolding and dual-color casting while keeping rejection rates close to zero and having full control over the process.
It's clear to clients what the value is:
• Lower cost than many other small-batch methods
• Faster transition from design file to real part
• Easier testing before committing to production tooling
• More confidence in cosmetic and functional evaluation
If your team is working on a new product, checking a design, or planning a short production run, call GD Prototyping to talk about your vacuum casting needs. A well-run vacuum casting project can lower the risk of development, make decisions better, and give you more confidence as you move toward production.
