
2026 Guide to Material Choice in Prototype Plastic Molding
Prototype Plastic Molding has become a quick route to production-intent parts in 2026. With the right resin, tooling, and processing, teams get real components - accurate, durable, and finish-ready - early enough to steer design and sourcing with confidence. This guide shows you how to choose the best material for the job, balance cost and performance, control dimensions and surface finish, and sidestep the pitfalls that derail schedules and inflate budgets.
What you'll take away
• A step-by-step material selection framework tied to real performance targets
• A plain-English, side-by-side view of common resins for Prototype Plastic Molding
• Proven process controls to keep dimensions and cosmetics on track in prototyping
• Typical pitfalls, why they happen, and how to avoid them
• Customer-focused benefits and delivery data from GD Prototyping
• Clear next steps: consult, quote, and move into pilot runs with confidence
- What Prototype Plastic Molding delivers in 2026
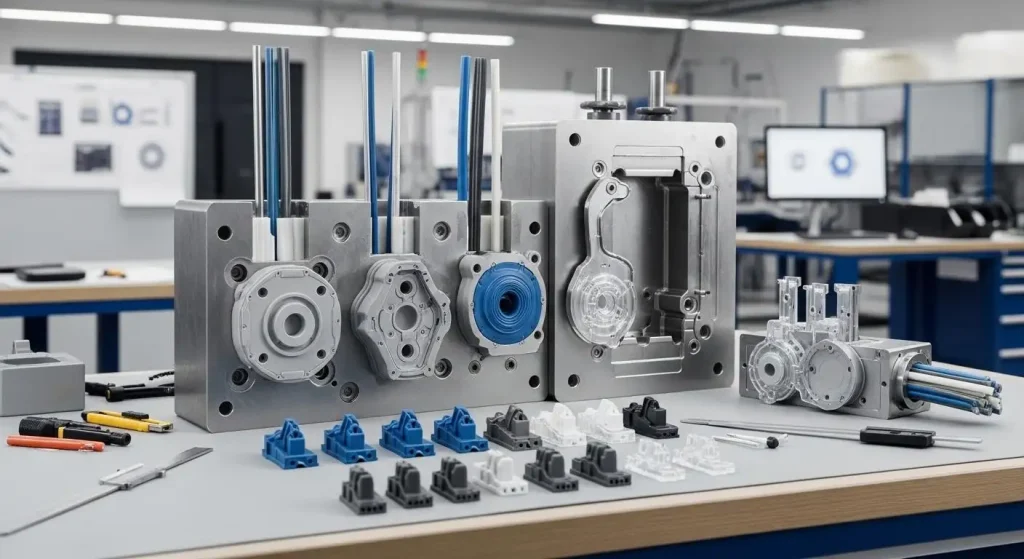
Prototype Plastic Molding gives you parts that look and behave like production, fast enough to steer design while it still matters. In injection molding, a thermoplastic melts, fills a machined cavity, cools, and ejects with finished geometry. For prototypes, the payoff is precision at speed: complex forms, tight tolerances, crisp textures, and consistent color within short lead times. That means design calls on wall thickness, draft, and resin can be made with real parts in hand rather than guesswork on a screen.
A Practical Framework for Choosing the Right Resin
Start with the job, not the catalog. Define the environment, loads, and compliance needs before you even think about color or texture. Then narrow to two or three candidate materials you can trial in the same tool.
Key Criteria That Actually Move the Needle
• Mechanical: Tensile strength, stiffness, and impact are primary. Polycarbonate (PC) is the standout for impact-exposed housings. ABS: Balanced stiffness and toughness make it versatile for enclosure work.
• Thermal: Look at HDT at load. Typical 0.45 MPa values: ABS ~90 - 105°C, PC ~125 - 135°C, PP ~60 - 100°C. Select based on actual operating ranges, not spec-sheet headlines.
• Chemical: Consider exposure to fuels, detergents, sweat, skin oils. POM and Nylon are solvent-capable. TPE performance varies - align chemistry with environment.
• Dimensional stability: Account for shrink/creep over lifecycle. Expect higher shrink (and potential creep) with PP/POM; chemical resistance is stronger - design tooling offsets.
• Regulatory: Validate biocompatibility, UL 94 flame class, and RoHS/REACH; medical housings may require biocompatible grades; electronics commonly target UL 94 V-0.
• Aesthetics: Color options, surface texture, gloss, and paintability. ABS and PC/ABS paint reliably; PP often prefers molded-in color to avoid adhesion issues.
Side-by-Side Resin Options for Prototype Plastic Molding
Choose materials that line up with both functional and visual goals. Below are common choices we mold at GD Prototyping, with typical shrink guidance and best-fit uses.
• ABS (shrink ~0.4 - 0.7%): Good aesthetics out of mold, paint-ready, balanced mechanics. Applied in consumer products and car interiors emphasizing surface feel and finish.
• PC (shrink ~0.5 - 0.7%): Exceptional impact resistance and heat performance; clear grades provide optical clarity. Fits protective housings, lenses, and transparent shields.
• PP (shrink ~1.0 - 2.5%): Chemical robustness, fatigue-resilience, flexural compliance. Chosen for fluid-exposed parts, hinge features, and low-weight components.
• Nylon PA6/PA66 (shrink ~0.8 - 2.0%): High strength and wear resistance; moisture uptake affects dimensions. Used for clips, fasteners, under-hood brackets.
• POM/Acetal (shrink ~1.5 - 2.5%): Low friction, excellent dry dimensional stability. Ideal for gears, bearings, and precision mechanisms.
• TPE/TPU (shrink ~1.5 - 2.0% typical): Soft-touch, elastic, seals and grips. Overmold adhesion depends on chemistry; validate on your chosen substrate.
Process Controls That Protect Dimensions and Cosmetics
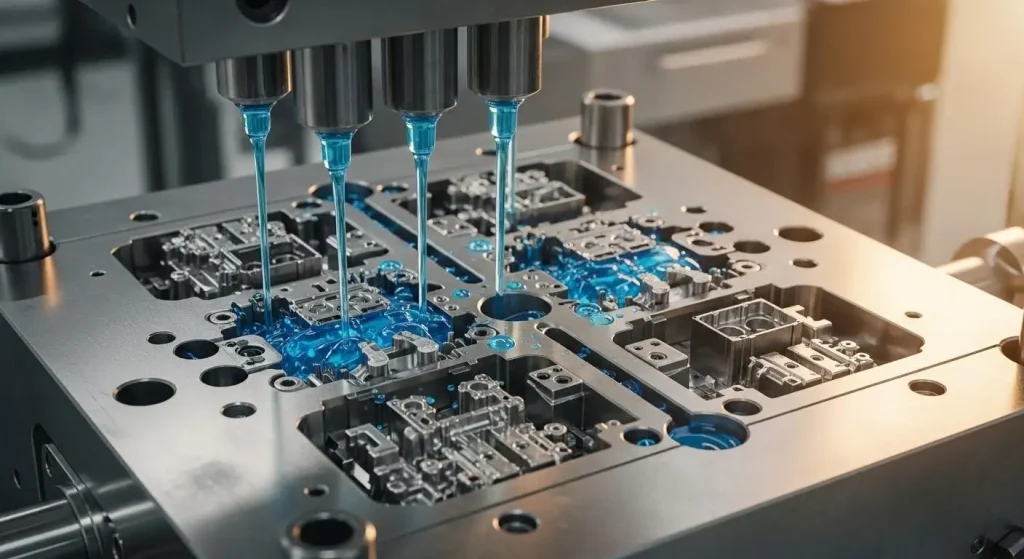
Prototype Plastic Molding succeeds when the process is as intentional as the design. Gate, runner, and vent design must balance the cavity so the part fills without excessive shear or weak knit lines. Cooling matters just as much; aluminum prototype tools remove heat quickly, stabilizing cycle times and reducing internal stresses that lead to warpage. We establish a resin-specific processing window early, then document the parameters that deliver repeatable parts.
Tolerances and Surface Finish That Hold Up in the Real World
For most prototype injection-molded parts, ±0.10 - 0.20 mm is a realistic general tolerance on medium features. With supportive geometry, robust tooling, and the right resin, critical dimensions can be targeted at ±0.05 mm. Use wall thickness guidelines to reduce sinks and voids: ABS 1.2 - 2.5 mm, PP 0.8 - 2.0 mm, PC 1.0 - 3.0 mm. Draft helps parts release cleanly and protects your surface: plan 1 - 2° for textured surfaces and at least 0.5° on smooth walls. Finishes range from SPI A2/A3 high gloss to VDI 27 - 40 textures for grip and light control; pick a finish that supports brand feel and hides wear and flow lines where needed.
Common Pitfalls - and How to Avoid Them
• Warpage and sinks: Often caused by uneven walls, poor gate placement, or a resin/geometry mismatch. Balance wall sections, relocate or add gates, and use uniform cooling.
• Misleading color approvals: Color drift between prototype and production batches arises from different base resins or processing. Use production-intended colorants and document molding conditions alongside color measurements.
• Dimensional change from moisture: Nylon absorbs water and alters size. Control RH/time for metrology and design mold offsets proactively.
• Higher-than-expected shrinkage: PP and POM move a lot. Bake in resin-specific shrink, verify on early parts, and adjust steel.
• Overmold adhesion risk: TPE-to-substrate bonds fail if incompatible. Prove bonds on test plaques before scaling.
• Cosmetic-safe ejection: Hide ejector pins and provide adequate draft to protect high-gloss faces.
Real Applications Where Prototype Plastic Molding Pays Off
Automotive teams use prototypes to validate clips, bezels, and retainers through thermal cycling and vibration before naming a production grade. Medical device developers test sterilization-ready housings - EtO or gamma compatible - and verify biocompatible options with the correct textures for grip and cleanability. Consumer brands lock in gloss levels and tactile feel on enclosures, buttons, and overmolded grips before committing to steel. Electronics programs check connector fits, latch forces, and EMI-shielded housings (with plated or coated options). Aerospace and defense groups prove lightweight, high-strength geometries under temperature extremes and chemical exposure.
Why GD Prototyping delivers results that executives and engineers trust
We translate capability into measurable project wins. Precision molding means first articles that fit assemblies, cutting iteration loops. Broad material access lets you validate performance, aesthetics, and compliance with your actual geometry - no compromises. Cost-savvy tooling strategies keep your options open while moving programs forward, and end-use-ready finishes help you leap from prototypes to pilot runs without a reset.
What You Can Expect
• Fast turnaround: Prototype molds and first shots typically in 7 - 15 business days; more complex tools are usually 2 - 3 weeks.
• Scalable volumes: From 20 - 50 samples for design verification up to 100 - 5,000 pilot units for market testing and low-rate builds.
• Quality you can measure: Dimensional reports on critical features, resin-specific processing windows, and capability data to stabilize repeatability.
• Production intent by design: Aluminum tools for speed and learning; P20 steel options for extended pilots; gating and cooling planned to transfer smoothly into production.
Call to Action
Plan your 2026 Prototype Plastic Molding program with confidence. Request a material selection consultation with GD Prototyping and receive a resin short list, DFM feedback tied to your geometry, and a rapid quote that aligns cost, performance, and schedule. From there, move into pilot production with tooling and process settings that de-risk launch.
How to Choose with Confidence - Checklist for Your Next Build
• Define the job: Operating temperature, loads, chemicals, and regulatory requirements.
• Shortlist two to three resins: Balance mechanical, thermal, chemical, and aesthetic needs before thinking about color.
• Moldability first: Balance wall thickness, include generous draft, locate gates strategically, and vent for clean fills.
• Test before you scale: Shoot early parts and test at actual field conditions; fix shrink and tolerance assumptions upfront.
• Cosmetic clarity: Define surface standards and validate gloss/texture on prototypes to avoid late-stage fixes.
• Built-in transfer: Configure tools and gating for a low-friction move from Prototype Plastic Molding to production.
With sound structure and Prototype Plastic Molding know-how, you turn early data into production performance - on time, on budget, with fewer risks.