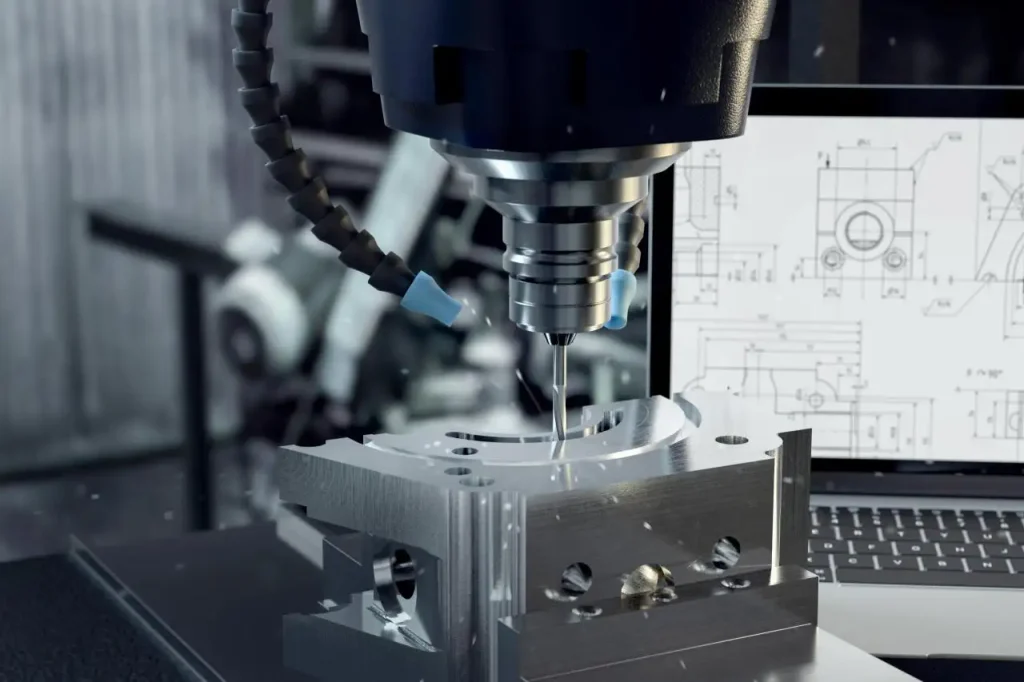
What Challenges Limit Precision in Metal Prototype Machining
Metal Prototype Machining promises tight tolerances and fast results. Yet many teams still miss their target by microns. Tools wear. Heat builds. Fixtures flex. Materials behave in unexpected ways. A perfect CAD model does not guarantee a perfect part. Even a smooth surface can hide size drift. Small errors stack up until a critical feature fails inspection. Why does this happen, and how can we stop it without blowing the budget or schedule? In the next sections, we unpack the real blockers, show what to watch, and reveal the practical moves that restore precision where it matters most.

Why Precision Slips: The Hidden Variables
Precision rarely fails for a single reason. It is the stack-up of small influences that push a part out of spec. Tool wear changes edge geometry. Heat adds or steals microns. A clamp that looks solid still allows micro-movement when the cutter bites. Materials themselves aren't static - aluminum, stainless steel, titanium, brass, copper, and specialty alloys all expand and spring back in different ways. When you are chasing ±0.005 mm, every one of these effects matters.
In Metal Prototype Machining, thermal effects are the quiet killer. Chips carry heat away, but not all of it. The workpiece warms, the cutter grows, and a finishing pass made "cold" in CAM may cut "hot" on the machine. Fixturing is another common trap: a clever setup that improves access might introduce distortion as forces shift around thin walls or long pockets. Finally, measurement uncertainty can mask the true state of a part; a rough probe routine or a worn gauge makes good data look bad - and bad parts look good.
✅ Typical precision risks to watch
• Material variability: hardness, grain, and residual stress change cutting response.
• Tool life drift: edge wear elongates cuts and roughens surfaces over time.
• Fixturing flex: micro-deflection during heavy cuts or thin-wall machining.
• Heat creep: slow temperature rise alters size before final inspection.
- Real-World Tolerance Pressures
Customers often ask, "Can you truly hold micron-level results?" Our published processing accuracy is ±0.005 mm for precision metal parts, and we treat that as a capability with conditions, not a blanket promise. Geometry, material, and toolpath strategy must align. For deep cavities in titanium, we might step down tolerance locally and earn it back with a rest-finish pass. For long, slender features in aluminum, we sequence roughing to manage stress relief before we chase the last microns. The point is simple: tolerances are achieved through strategy, not wishful measuring.

How GD Prototyping Controls The Variables
We invest where precision pays back: 3-axis, 4-axis, and 5-axis CNC platforms that minimize setups and keep geometry true. Fewer re-clamps mean fewer opportunities for error. Our programmers pair adaptive roughing with stable finishing passes, and our machinists manage tool life proactively, not reactively. Climate-controlled inspection, in-process probing, and closed-loop feedback let us correct drift before it becomes scrap.
Surface quality ties directly to dimensional control. Industrial-grade fine finishes reduce burr risk, stabilize edges, and make measurement repeatable. We finish what we start: anodizing, plating, bead blasting, polishing, and powder coating are coordinated with machining so finishes enhance, not fight, precision. Whether you need one-off prototypes, small-batch runs, or a ramp to mass production, the same quality logic applies.
✅ What you gain with GD Prototyping
• Micron-minded process: strategies built to meet ±0.005 mm where it counts.
• Axis advantage: 3-axis/4-axis/5-axis choices reduce setups and error stack-up.
• Versatile metals: aluminum, stainless steel, titanium, brass, copper, alloys.
• Flexible volumes: one-offs, pilot builds, or full production with traceability.
• Finish integration: anodizing, plating, bead blasting, polishing, powder coating.
- From CAD To Chip - A Repeatable Flow
Every Metal Prototype Machining job starts with design intent. We review CAD and GD&T, identify tolerance hotspots, and simulate toolpaths for heat and deflection. Fixtures are modeled, probed, and verified. We rough to control stress, semi-finish to stabilize size, and finish under consistent temperature. The final pass is scheduled, not improvised.
- Measuring What Matters
Inspection isn't a box to tick - it's how precision is proved. We combine in-process probing with calibrated equipment in a controlled room. Surface roughness targets pair with size checks so a smooth face doesn't hide an oversize pocket. Data rolls up to a clear report that tells you what met spec and why.

What This Means For Your Next Prototype
If your parts are drifting out of tolerance, the fix isn't always "machine slower." It's smarter sequencing, better fixturing, and clear priorities for where tolerances truly matter. In Metal Prototype Machining, chasing every micron everywhere drives cost without improving function. Define functional features first, then cascade tolerances outward. Let secondary surfaces carry more freedom so the critical ones can stay tight.
When you work with GD Prototyping, you get a partner who helps decide where precision is worth it - and where it isn't. Send us your model, material, and finish goals. We'll propose a route that balances accuracy, lead time, and cost. Expect transparent trade-offs: if a thin titanium rib needs ±0.005 mm, we'll outline toolpath changes, fixture strategy, and inspection steps to make it happen.
✅ Action steps to de-risk your build
• Share function-driven GD&T: tell us the "why" behind each tight callout.
• Flag finish-critical faces: finishing choices can shift final size and texture.
• Clarify volume plans: one-off vs. small-batch may change strategy and price.
Call To Action: Ready to remove uncertainty from your next Metal Prototype Machining run? Contact GD Prototyping for a free manufacturability review and a clear plan to hit spec - on time and on budget. We'll help you turn a precise prototype into a reliable production path.

