


Custom 3D Printed Prototypes: 9 Finishing Techniques for Premium Products
3D printed prototypes do not look like the final product when they first come off the printer. They can be finished using different techniques, but will have visible texture features, support marks and layer lines. This is true for all types of additive manufacturing, be it SLA, SLS, MJF or DMLS. Consequently, post-processing separates rough prototypes from polished, production-ready models.
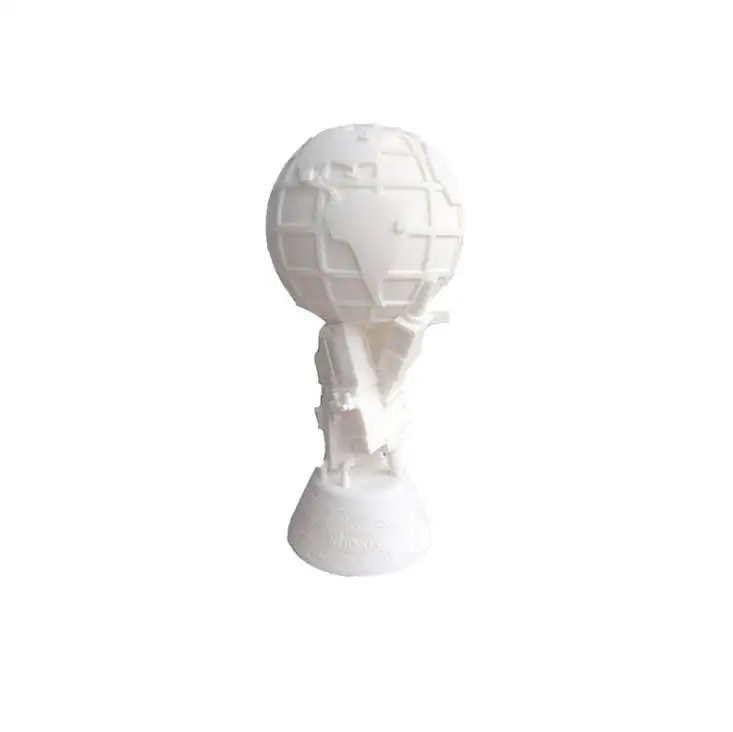
Post-processing has many benefits including improved function from enhanced resistance to corrosion, wear and increases in durability. For professionals looking at prototypes, it is important to understand the finishing techniques to improve alignment with the project requirements. This document focuses on nine different finishing techniques and the rest of this section looks at the surface finishing techniques.
Foundational Surface Refinement
1. Standard Finish – The Baseline for Every Custom 3D Printed Prototype
Every custom 3D printed prototype starts life with a standard finish. This involves the removal of supports and smoothed to a basic level.
• What it entails: Support removal, basic sanding and cleaning in the case of powder or resin.
• Applicable materials: All plastics and metals printed via SLA, SLS, MJF or DMLS.
✅ When to choose: When a prototype must retain its look and feel to the final piece, but must also be functional and dimensionally accurate.
Standard finish is the foundational finish and all other finishes build on this.
2. Sanding – The Mechanical Foundation for Custom 3D Printed Prototypes
Sanding is one of the most mechanical foundational post-processing finishes for custom 3D printed prototypes.
• What it entails: The Progressive method utilizes finer grits to remove imperfections.
• Applicable materials: Plastic, resin and metals.
✅ When to choose: Sanding can be used as a finish, however, it is commonly used in preparation for a finish. Sanding is typically used on functional prototypes.
Sanding reduces surface roughness and prepares the part for subsequent finishing layers.
Chemical and Vapor Based Finishing
3. Vapor Smoothing – Optical Clarity for 3D Printed Prototypes
Vapor Smoothing is a method that increases both clarity and surface smoothness of a finished plastic part.
• What it entails: this method uses a chamber to expose parts to chemical vapors, where the outer plastic surface is softened to allow a smooth and glossy finish at the molecular level.
• Applicable materials: Featured vapor smoothing is a method suited for ABS, ASA, PC, PMMA Polysulfone, Ultem, and many other Engineering Plastics.
• Key advantage: Because this method uses chemical vapors, it can easily smooth complex shaped surfaces that would otherwise be difficult to finish.
• Applications: Light Pipes, Lenses, Windows, Medical and Consumer Electronics.
✅ When to choose: This method is excellent when a surface finish is required to be optically clear with a high gloss and is ready for production.
Vapor Smoothing provides 3D printed parts with an aesthetically pleasing clarity, and, at the same time, will maintain your part's tolerances.
Color and Coating Applications
4. Custom Color, Gloss and Texture - Painting
With custom color and surface gloss and texture, 3D printed prototypes can look significantly better.
• What it is: Custom colors and levels of gloss/texture can be spray or hand painted.
• Applicable materials: This can be done on plastics and resins.
• Key Advantage: Brand and design color specifications can be achieved and color matches can be done.
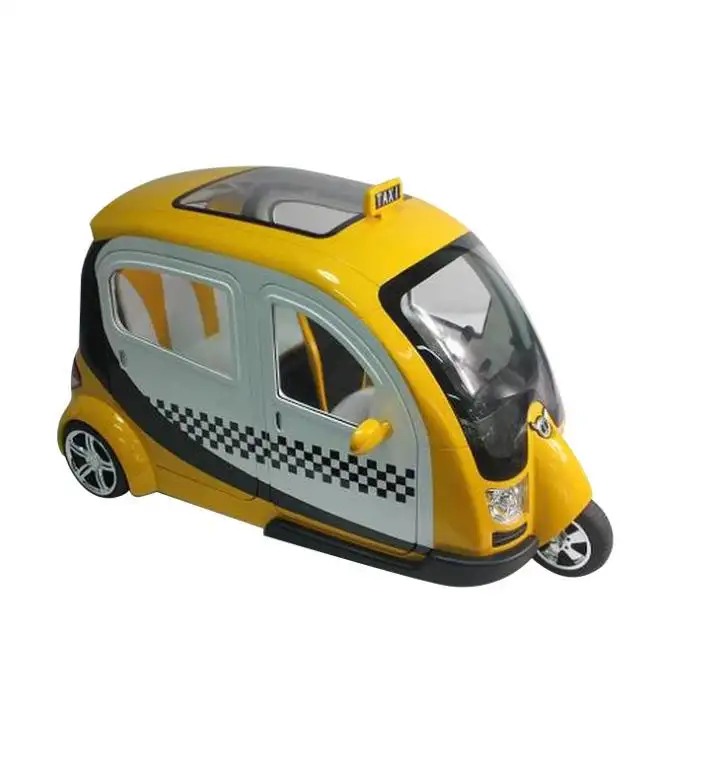
✅ When to choose: Paint can be used when there is a need to color a component to a specific color to match or to differentiate from other component colors. Painted components can also align to a specific brand color. This is especially common in 3D Printed parts for Consumer Electronics, Automotive Components, and Marketing Models.
Painted Parts achieve the look of the desired Manufacturing and Production Ready components, as well as the target Prototype look.
5. Dyeing - Uniform Color for Nylon Custom 3D Printed Prototypes
Dyeing is a process used only on surface colored Nylon parts that are made using Selective Laser Sintering (SLS) or Multi Jet Fusion (MJF).
• What it entails: Dyeing is done through submersion in a dye solution.
• Applicable materials: This is done on Nylon SLS/MJF parts.
• Key Advantage: Dyeing is done by changing color, and it is done without affecting the part's fit and function of the surface coating.
Dyeing is the preferred coloring option for permanent, color-fast, highly scratch resistant surfaces.
6. Clear Coating - Surface Protection for your 3D Prints with Clarity
When added to your 3D print, a clear coat offers clarity for your newly coated surface, in addition to protection.
• What it entails: a clear coat is simply a spray application of a clear protective coating.
• Applicable materials: This provides a clarity coating to transparent SLA resin, polycarbonate (PC), and PMMA.
✅ When to choose: This option is helpful with transparent prototypes, light guiding structures and display elements that need to maintain optical clarity.
A clear coat that is added to a surface improves the clarity and protection of that surface.
Mechanical Surface Enhancement
7. High-Gloss Smoothing for Custom 3D Printed Prototypes
• What it is: High gloss smoothing is the process in which a surface is buffed to a smooth, high gloss finish.
What it entails: Mechanical polishing or buffing of a surface to a high gloss, reflecting finish.
• Applicable materials: Most commonly performed on plastics and resins.
• Applications: Used on prototypes of housings for consumer electronics and for optical components. Also used on presentation grade prototypes.
✅ When to choose: This option should be selected when a clear or smooth final finish to the prototype is needed. Quality of the prototype is readily apparent when the prototype is finished by this process.
8. Uniform Matte Finish for 3D Printed Prototypes
• What is it: Similar to a larger scale sandblasting, but for finer surfaces, bead blasting is a technique to achieve a uniformly smooth surface to a printed prototype with a matte finish. It removes surface imperfections and marks from the build process.
• What is done: A fine medium, aluminum oxide or glass beads for example, are propelled at the surface of the part at high velocity.
• Materials it can be done on: Plastics and metals.
• Main Strength: Bead blasting works well at hiding layer lines and gives a consistent, non-reflective, matte finish. This also provides a good finish for anodizing and other surface treatments.
✅ When to choose: When a professional low glare finish is required. This is true for most aerospace, medical and industrial components.
Metal-Specific Finishing
9. Custom 3D Metal Printed Prototypes and Heat Treatment
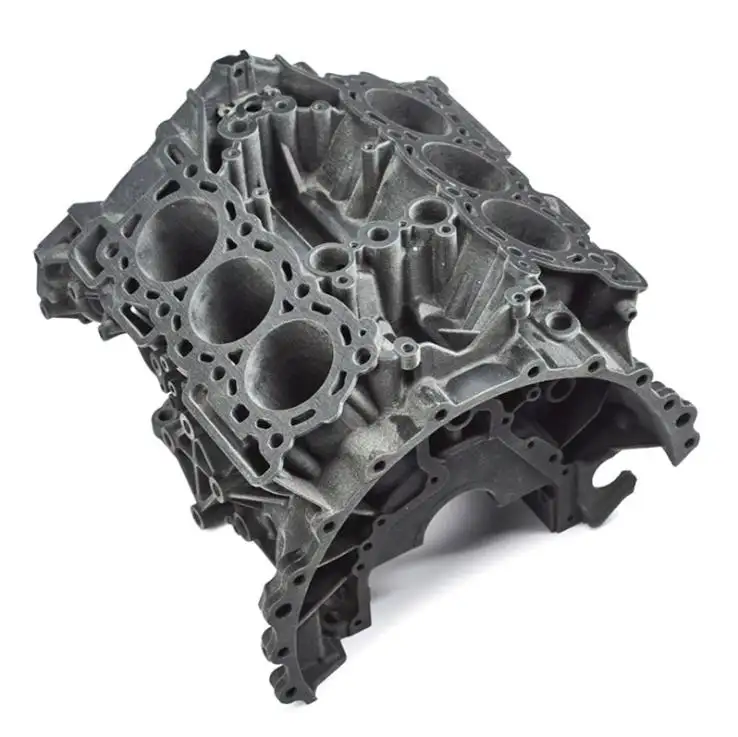
Metal Parts made from DMLS or SLM can be improved in strength and toughness with heat treatment.
• What it is: Heating to a high temperature and then slowly to cool to a low temperature to modify the internal structure and relieve stresses.
• Applicable materials: Metal parts made with DMLS/SLM.
• Key advantage: In the laser melting process, some residual stress is relieved, which allows improvement of other mechanical properties, along with dimensional stability.
✅ When to choose: Custom 3D printed prototypes address mechanical concerns in more demanding applications, especially aerospace, automotive, or industrial.
Heat Treatment is required for metal prototypes made to function in a real-world scenario.
Other Factors for Custom 3D Printed Prototypes
Electroplating – Metal Layer for Looks and Conductivity
Electroplating may not fall in the core nine, but it does deserve mention for adding a thin metal layer to resin parts.
• What it is: Copper, nickel, or chrome in a likely resin part.
• Applicable materials: Likely resin parts.
• Major Improvement: With real metal look and better electrical properties, the fabrication metal can be used to create better prototypes.
✅ When to use: If the prototypes are required to look metal, provide EMI shielding and have electrical conductivity.
Anodizing – Custom 3D Printed Aluminum Prototypes Metal Finishing
Anodizing is a way to thicken the aluminum oxide layer using electrochemistry.
• What it is: An electrochemical way to thicken oxide layers that are corrosion resistant.
• A step of dyeing the anodized aluminum can result in a uniform black finish.
• Applicable materials: Aluminum and alloys of aluminum.
• Key advantage: Once anodized, aluminum cannot be subject to micro peeling or chipping.
✅ When to choose: Anodizing is the clear choice for aluminum prototypes if a refined and elegant look combined with corrosion and abrasion resistance is desired.
Choosing the Right Finish for Your Custom 3D Printed Prototype
There are many factors when deciding the finishing technique:
• Functional needs: Should the prototype be able to withhold certain phenomena? Would Anodizing/Heat treatments be successful? Would a Clear Optical Finish be needed?
• Aesthetic needs: Is a certain color or a particular type of high gloss finish or a uniform finish required?
• Material considerations: Is the technique for the finish compatible with the material of the prototype? For example, die is specific to nylon, vapor smoothing is specific to certain thermoplastics, anodizing is specific to aluminum.
• Dimensional tolerances: Some finishes will add greater thickness to the part (anodizing adds 5-25 microns), and other finishes will maintain tighter tolerances (vapor smoothing).
• Cost and lead time: Some finishes are standardized and can be done quickly and at a low cost, while other finishes that are more specialized, such as electroplating or heat treatment, require a greater investment of time and money.
GD Prototyping specializes in an integrated system where various techniques of 3D printing (SLA, SLS, MJF, DMLS) and additive services are combined. The finishing services of more than 3,000 partnering companies range from a standard clean up to specialized services such as vapor polishing and black anodizing.
Closing Words
Post-processing will refine and improve the appearance and functionality of 3D printed prototypes. The nine techniques discussed in this article (standard finish, sanding, vapor smoothing, painting, dyeing, clear coating, polishing, bead blasting, and heat treatment) address a wide range of functional and aesthetic needs.
This knowledge means you can make better decisions on prototype development to ensure custom 3D Printed prototypes validate form and fit while also demonstrating the quality and purposeful provision of the final production part. Getting a clear, medical device housing, matte-black aerospace component, or a high-gloss, consumer electronic enclosure, the right finish can make a prototype look like a final product.
FAQs
Q1: What materials can be dyed?
A: Only nylon parts made via SLS or MJF can be dyed. Other plastics will need painting or a coating.
Q2: Will post-processing impact the dimensions of the part?
A: Yes. Finishes like painting and plating can add microns of thickness to the part; vapor smoothing and bead blasting will keep the dimensions intact.
Q3: What is the best finish for functional metal prototypes?
A: Stress relieving and strengthening would be done with bead blasting and anodizing to add corrosion resistance.
Q4: In terms of durability, what is the better option: painting or dyeing?
A: Since dyeing goes into the nylon part and is scratch resistant, it is a more durable option; painting, while offering more color options is less resistant to chipping.
Q5: What factors should I consider to select the finishing for my prototype?
A: For the finishing, consider the balance between the aesthetics and functionality of the prototype along with the overall cost.
