
3D Printing And Prototyping: Pick Plastic vs Metal Fast
3D Printing And Prototyping can shorten the distance between an idea and a testable part, but the first decision often determines the entire timeline: plastic or metal. Both can be fast, yet they solve different risks.
At GD Prototyping, we work with teams who need a part that looks right, fits right, and performs "right enough" to make the next decision. The confusion usually starts with one question: Should I print this in plastic or metal? This article gives beginners a practical path to decide quickly, using real manufacturing logic and a few proven data points—so you can move from idea to validated prototype with less rework.
Start With the Real Job of Your Prototype, Not the Material Name
Before you choose a process, define the job your prototype must do in this stage. Most early prototypes fall into three buckets, and each bucket naturally points to a material direction.
✅Visual + basic fit check (shape, size, assembly clearance)
✅Functional trial (snap fits, light loading, thread engagement, airflow, sealing)
✅Performance trial (heat, high load, impact, wear, fatigue, or regulated testing)
If you are still validating geometry and assembly, plastic 3D printing usually gives the best speed-to-learning. If you are validating strength, heat resistance, or metal-like behavior, metal printing becomes more relevant—but only after you confirm the design is stable. This is the core idea: use plastic to learn fast, then use metal to prove performance.
At GD Prototyping, our 3D Printing And Prototyping workflow is built around this staged approach so you do not pay metal-level cost when you are still changing dimensions every day.
A Fast Plastic-First Checklist for 3D Printing and Prototyping
Plastics win when your goal is iteration speed, lightweight testing, or complex geometry without supports and assembly steps. For beginners, the easiest mistake is picking a plastic process based only on "surface looks." Instead, match the process to your risk.
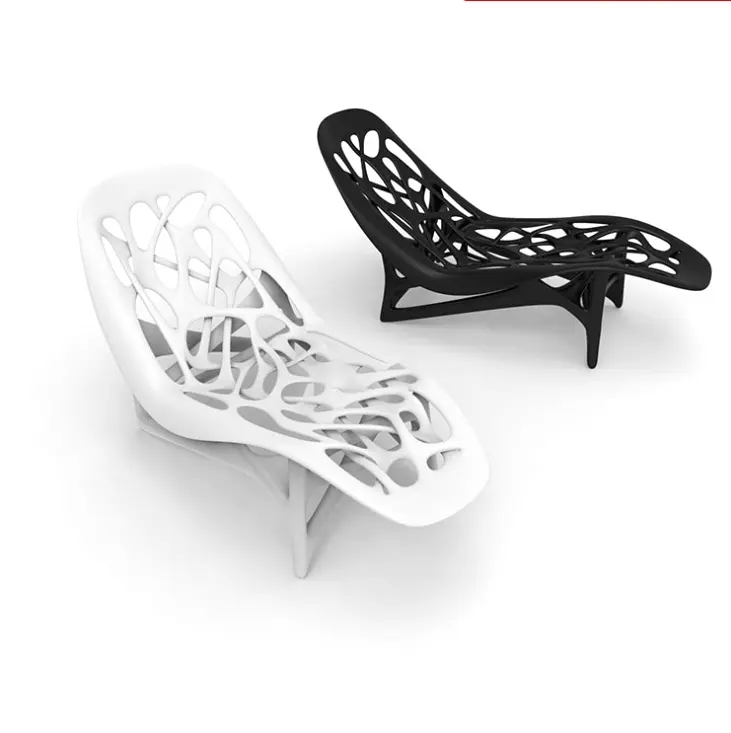
SLA (Stereolithography) is often chosen when detail and surface quality matter—think presentation models, fine features, and tight visual expectations. In our shop, SLA is frequently used when the goal is: "Show it, measure it, and confirm the design direction."
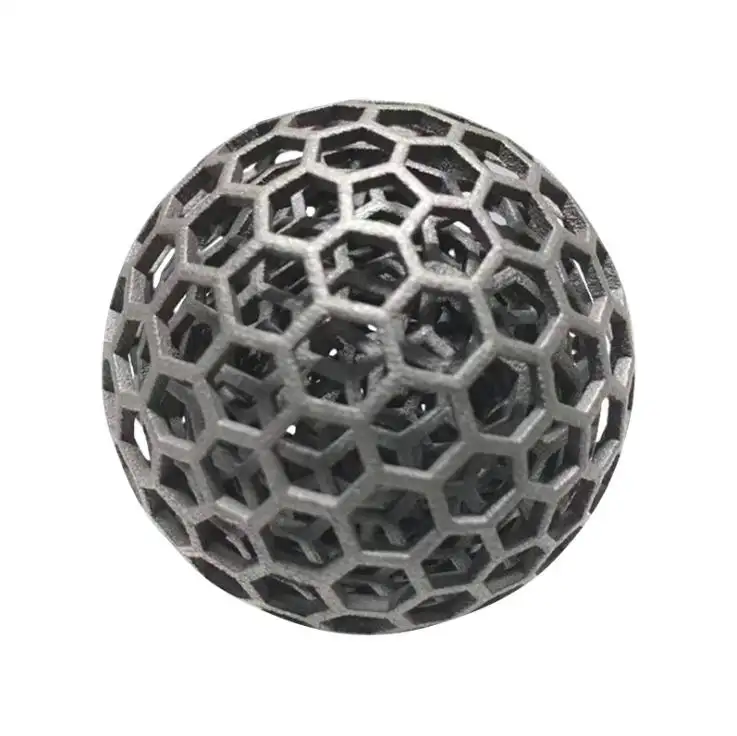
SLS (Selective Laser Sintering) is a strong option when the part must be durable and functional, especially with complex internal channels. SLS can build many functional prototypes without support structures, which helps when your geometry is complicated.
MJF (Multi Jet Fusion) is a practical choice when you need strong, dimensionally consistent plastic parts with fast throughput—often used for functional prototypes and low-volume runs where you care about repeatability.
To keep your decision fast, use this short checklist:
✅Choose SLA if you need smooth surface + fine detail
✅Choose SLS/MJF if you need functional strength + complex geometry
✅Stay in plastic if you are still changing wall thickness, ribs, clips, or mounting points
This is how 3D Printing And Prototyping becomes a learning tool, not just a manufacturing method.
When Metal Printing Is the Right Answer, and When It's Not
Metal printing is powerful, but it is not a shortcut for an unstable design. It is best used when your prototype must behave like a real metal component—mechanically or thermally.
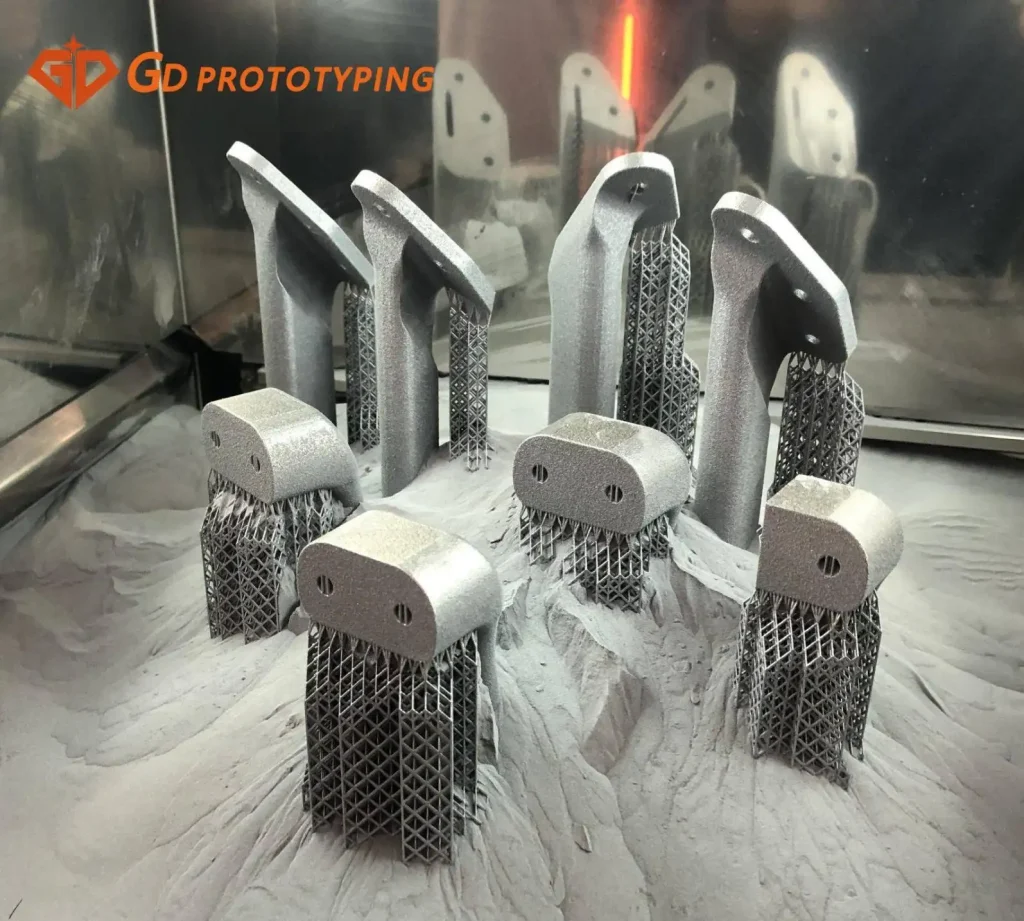
In our center, metal prototyping is commonly done with DMLS/SLM-style technologies that build dense, high-strength parts from metal powders such as stainless steel, aluminum alloys, and titanium alloys—often for aerospace, medical, mold, and industrial applications.
Here is the practical decision rule:
✅Choose metal if the prototype must validate strength, heat, wear, or metal interfaces
✅Choose plastic if the prototype must validate geometry, fit, appearance, or early functional motion
One more beginner tip: if your design will eventually be CNC machined, a metal print can still be valuable—but usually after plastic has locked the geometry. That sequence reduces iterations and keeps your program predictable.
Use Lead Time and Accuracy Data to Make a Confident Call
Speed and tolerance are not just marketing words—they determine whether your prototype teaches you something useful.
At GD Prototyping, we can deliver many prototypes within 1–2 days, which helps teams run multiple design loops before decisions harden. For process capability, here are a few reference points from typical production settings:
•SLA can achieve dimensional accuracy around +0.5% with a lower limit of +0.15 mm, with layer heights commonly 50–100 μm.
•MJF and SLS often reach around +0.3% with a lower limit of ±0.3 mm, with layer height around 80 μm.
•DMLS is commonly used when you need fine metal layers (for example, 30 μm is a typical layer height), but lead time is usually longer (often about 7 business days for many builds).
You do not need to memorize these numbers. Use them to ask a better question: Is my design tolerance requirement realistic for the process? If you need press-fit precision or sealing surfaces, you may plan a small allowance for finishing or secondary machining—especially for metal.
Turn Each "Advantage" Into a Real Buyer Benefit
A good supplier does not just list advantages; they translate them into outcomes you can use.
✅ Many Materials → Choose properties, not compromises
Test plastics and metals side‑by‑side with one partner all the way to samples.
✅ Speed → Decisions in days
48‑hour prototypes enable rapid fit checks and re‑tests, preventing late pivots.
✅ Design Flex → Fewer parts, fewer problems
Complex features print without custom tooling, lowering assembly time and tolerance accumulation.
✅ Budget Focus → Spend where results matter
Avoid early hard tooling and invest in learning cycles.
This is the real value of 3D Printing And Prototyping: it protects your timeline and your learning budget.
Finishing and a Simple CTA to Get Your First Prototype Right
A prototype is only useful if it matches the way you will evaluate it. That is why finishing matters—especially for parts used in demos, customer reviews, or functional trials.
Common finishing options we support include standard cleanup, painting, polishing, electroplating for resin parts, dyeing for nylon, vapor smoothing for ABS/ASA, clear coating for transparent resins, bead blasting, and heat treatment for metal printed parts. The goal is not decoration; it is to make the prototype behave closer to the real part—whether that means better feel, clearer surfaces, or stronger performance.
CTA: If you want to pick plastic vs metal fast, send GD Prototyping your part's application (visual, fit, or functional), target material preference, and any critical dimensions. We will recommend a practical 3D Printing And Prototyping route (SLA/SLS/MJF or DMLS), suggest a finishing plan, and help you get a prototype you can actually learn from—without overbuilding the first iteration.